I. Overview
Enough theory — let's get our hands dirty. In this part, we'll set up CockroachDB locally using Docker, connect to it with a standard PostgreSQL client, and run some basic SQL to get a feel for how it works.
II. Local Setup with Docker
The fastest way to get started is with Docker. You don't need to install anything on your machine directly.
Prerequisites: Docker installed and running.
Step 1 — Pull the CockroachDB image:
docker pull cockroachdb/cockroach:latestStep 2 — Create a Docker network:
docker network create -d bridge roachnetStep 3 — Start 3 nodes (simulating a real cluster):
# Node 1
docker run -d \
--name=roach1 \
--hostname=roach1 \
--net=roachnet \
-p 26257:26257 -p 8080:8080 \
cockroachdb/cockroach:latest start \
--insecure \
--join=roach1,roach2,roach3
# Node 2
docker run -d \
--name=roach2 \
--hostname=roach2 \
--net=roachnet \
cockroachdb/cockroach:latest start \
--insecure \
--join=roach1,roach2,roach3
# Node 3
docker run -d \
--name=roach3 \
--hostname=roach3 \
--net=roachnet \
cockroachdb/cockroach:latest start \
--insecure \
--join=roach1,roach2,roach3Step 4 — Initialize the cluster:
docker exec -it roach1 ./cockroach init --insecureStep 5 — Verify the cluster is running:
docker exec -it roach1 ./cockroach node status --insecureYou should see 3 nodes all with is_available: true.
💡 Tip: For quick testing, spin up a single-node cluster:
`bash
docker run -d --name=roach-single -p 26257:26257 -p 8080:8080 \
cockroachdb/cockroach:latest start-single-node --insecure
`
III. CockroachDB Cloud (Free Tier — No Docker Needed)
Don't want to run Docker? CockroachDB Cloud offers a free serverless tier — no credit card required.
- Go to cockroachlabs.cloud
- Sign up and create a new Serverless cluster
- Download the connection string — it looks like:
postgresql://username:password@free-tier.gcp-us-central1.cockroachlabs.cloud:26257/defaultdb?sslmode=verify-fullThe free tier gives you 10 GiB storage and 50M RUs/month — more than enough to learn and experiment.
IV. Connect with a PostgreSQL Client
CockroachDB speaks the PostgreSQL wire protocol, so any PostgreSQL client works out of the box.
Using the built-in SQL shell:
# Docker local cluster
docker exec -it roach1 ./cockroach sql --insecure
# CockroachDB Cloud
cockroach sql --url="postgresql://..."Using psql:
psql "postgresql://root@localhost:26257/defaultdb?sslmode=disable"Using any PostgreSQL GUI (TablePlus, DBeaver, DataGrip) — point it to localhost:26257, username root, no password (insecure mode).
V. Basic SQL Operations
Once connected, let's create a database and run some queries.
Create a database and table:
CREATE DATABASE demo;
USE demo;
CREATE TABLE users (
id UUID PRIMARY KEY DEFAULT gen_random_uuid(),
name STRING NOT NULL,
email STRING UNIQUE NOT NULL,
created_at TIMESTAMPTZ DEFAULT now()
);Insert some data:
INSERT INTO users (name, email) VALUES
('Alice', 'alice@example.com'),
('Bob', 'bob@example.com'),
('Charlie', 'charlie@example.com');Query the data:
SELECT * FROM users ORDER BY created_at DESC;Check range distribution (CockroachDB-specific):
SHOW RANGES FROM TABLE users;This shows you exactly how your data is distributed across nodes — something you can't do in regular PostgreSQL.
VI. The Admin UI
CockroachDB comes with a built-in dashboard. Open your browser at:
http://localhost:8080Here you can see:
- Node status — which nodes are up/down
- SQL metrics — QPS, latency, error rates
- Range distribution — how data is spread across the cluster
- Active queries — what's currently running
This is incredibly useful for understanding your cluster's health without any external monitoring setup.
VII. Conclusion
In just a few commands, you have a fully functional 3-node distributed SQL cluster running locally. Notice how everything behaves exactly like PostgreSQL — the same SQL syntax, the same client tools — but with distributed superpowers underneath.
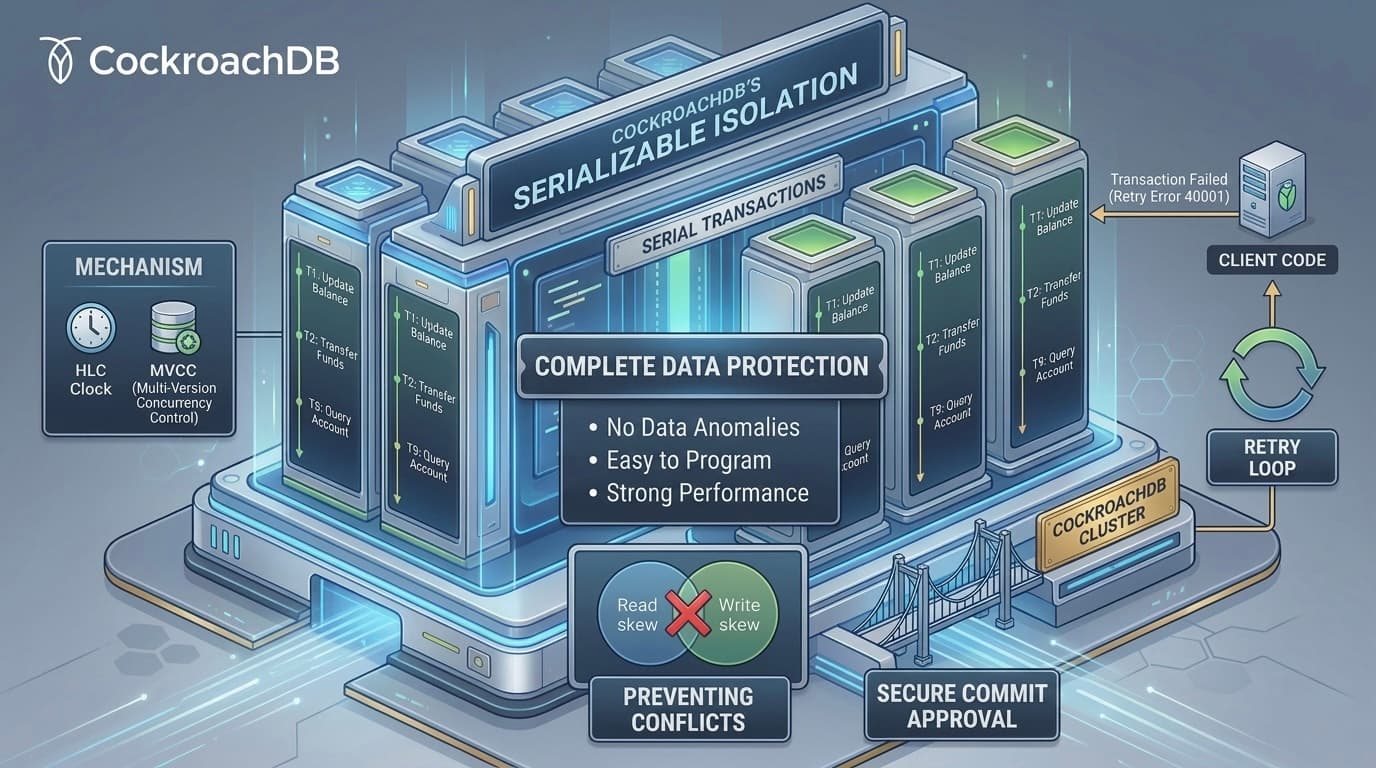
In Part 4, we'll explore one of the most powerful aspects of CockroachDB: transactions and serializable isolation.
Thank you for reading! 😊