A while back I wrote Building a personal blog with Next.js and Notion, which walked through setting up a blog with notion-nextjs-mini-kit. Since then I've kept building on top of it for my own blog, and a few of those changes are worth writing down — not as "nice to have" extras, but as the parts I'd consider essential if you're running this in production today.
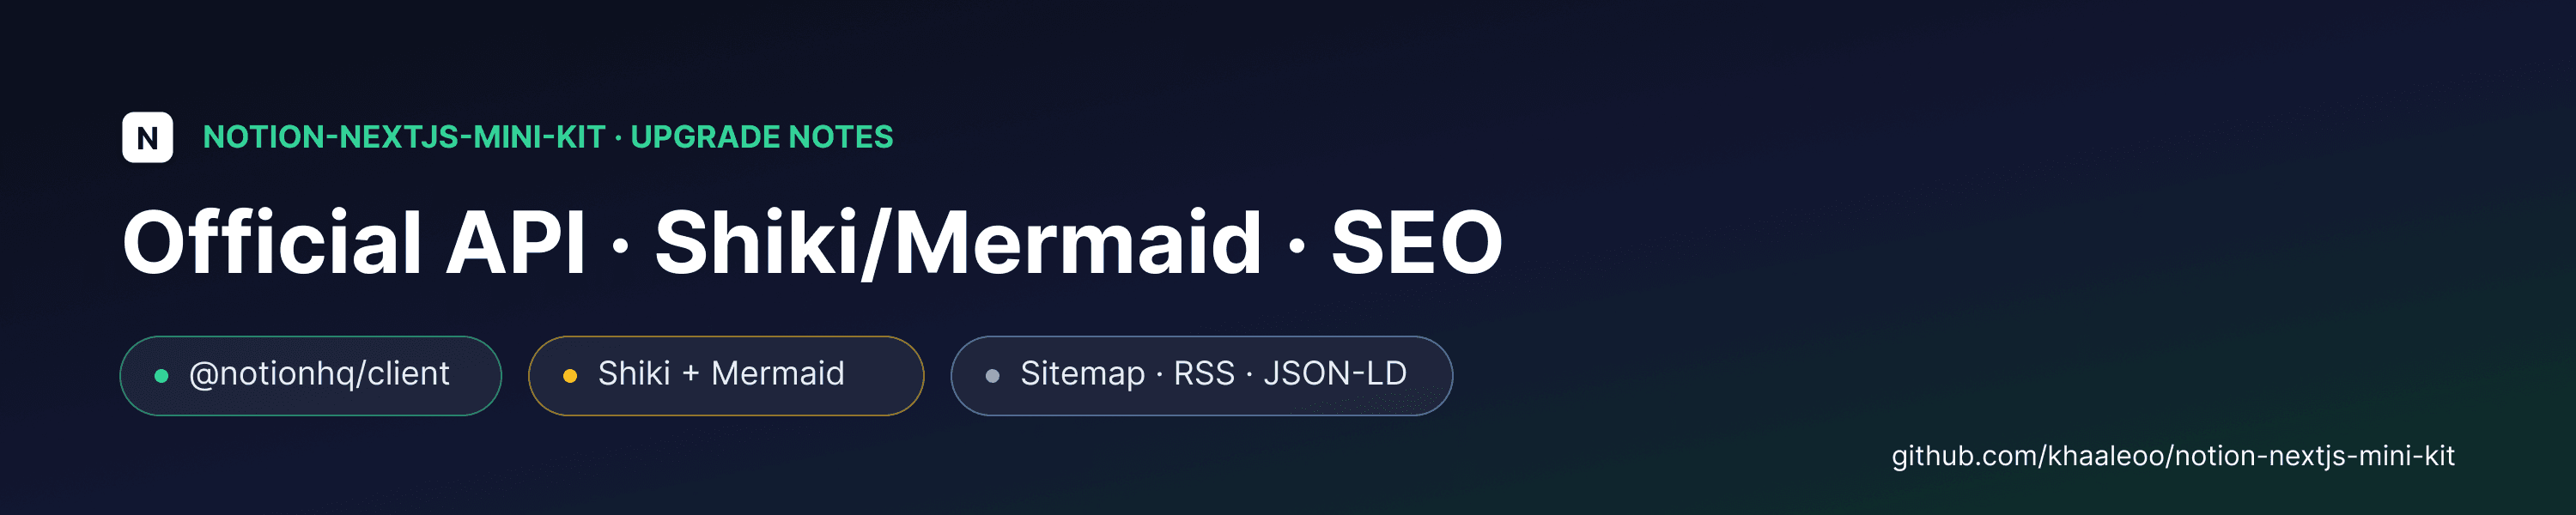
This post covers three of them: how the Notion renderer works now, how publishing became fully automatic, and which SEO pieces I added that cost almost nothing to ship.
I. Prerequisites
- You've already gone through the original guide and have a working blog on
notion-nextjs-mini-kit.
- A Notion integration token with read content access (same one from the original guide).
- Comfortable reading a bit of TypeScript — nothing here needs new packages beyond
@notionhq/client.
II. From react-notion to the official Notion API
The original kit renders Notion pages with react-notion's <NotionRenderer blockMap={...}>, and it gets that blockMap from notion-api.splitbee.io — a free, unofficial endpoint that scrapes Notion's internal page format. It works, but it has two problems: it's undocumented, so you're trusting a shape that can change without notice, and it depends on a third-party service staying online.
I replaced both pieces:
- Fetching — instead of calling
notion-api.splitbee.io, I call@notionhq/clientdirectly and walk the block tree myself withclient.blocks.children.list(), recursively, for every block thathas_children. Each block comes back typed and documented (paragraph,heading_1,bulleted_list_item,code,image, and so on), so there's nothing to reverse-engineer.
- Rendering — I stopped using
react-notion's renderer and wrote a small one myself: one component that switches onblock.typeand renders the matching HTML. Unsupported or new block types just rendernullinstead of crashing the page, so Notion can ship a new block type tomorrow and my blog won't break.
The nice side effect: because I own the renderer now, I could add things react-notion doesn't support out of the box — proper per-language syntax highlighting, and Mermaid diagrams inside code blocks (write a mermaid ` code block in Notion, it renders as an actual diagram on the site).
If you're starting fresh today, I'd skip the unofficial endpoint entirely and go straight to @notionhq/client — a bit more code upfront, but you're building on a contract Notion actually maintains.
III. Publishing that runs itself
In the original setup, "publishing" meant: flip the Status property in Notion, then trigger a redeploy or wait for the next build. Fine for a first blog, but it doesn't scale once you're editing posts after they're live.
Two pieces fixed that:
- A Notion webhook. Notion can call a URL whenever a page in your database changes. I added a route that verifies the request is genuinely from Notion (HMAC signature check against a verification token), figures out which post changed, and revalidates just that post's page — plus the listing, sitemap, and RSS feed when it's a new post. Edit a typo in Notion, and the live site catches up within seconds, no redeploy needed.
- Draft previews. Posts that aren't Published are excluded from the public blog by default, but I can still open a tokenized preview URL for any draft to see exactly how it'll look before flipping the status — with a
noindextag so it never gets crawled by accident.
Together, these turned "edit in Notion, refresh, wait" into an actual editorial workflow.
IV. SEO you get almost for free
None of this is exotic, but it's easy to skip when you're just focused on getting the blog running — and it quietly pays off over months:
- Sitemap — one route listing the blog index, every published post, and static pages, so search engines discover everything without crawling links.
- robots.txt — points crawlers at the sitemap and keeps API routes and preview links out of the index.
- RSS feed — the latest published posts, generated from the same Notion query the blog listing already uses.
- JSON-LD (Article schema) — structured data on every post page, so Google can render rich results (author, publish date, headline) instead of guessing from the HTML.
- Auto-generated OG images — every post gets a social preview image generated on the fly from its title and description, so sharing a link never shows a blank/default card, even for posts I forget to add a custom image to.
None of these require touching Notion — they all read from post data you already have.
V. Conclusion
None of this changes what notion-nextjs-mini-kit is for: Notion as your CMS, Next.js rendering it. What changed is durability — the renderer no longer depends on an unofficial endpoint, publishing doesn't need a human to remember to redeploy, and the basic SEO surface is covered without extra effort per post.
I've since brought the official-API renderer and SEO essentials back into the public notion-nextjs-mini-kit repo (see v2.0.0) so anyone starting fresh gets this by default.
Happy coding! 🙌🏻
References
- Original guide: Building a personal blog with Next.js and Notion
- notion-nextjs-mini-kit: github.com/khaaleoo/notion-nextjs-mini-kit